1. Introduction
This is a experimental article, using a existing Azure Active Directory (AD) and Azure Active Directory (AD) Domain Services deployment and integrating it with a Okta solution.
2. Preparation tasks
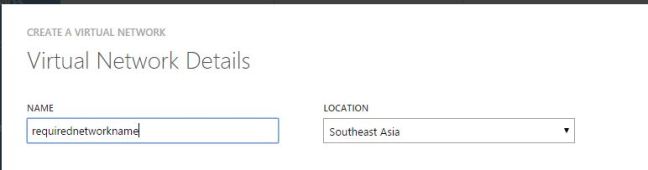
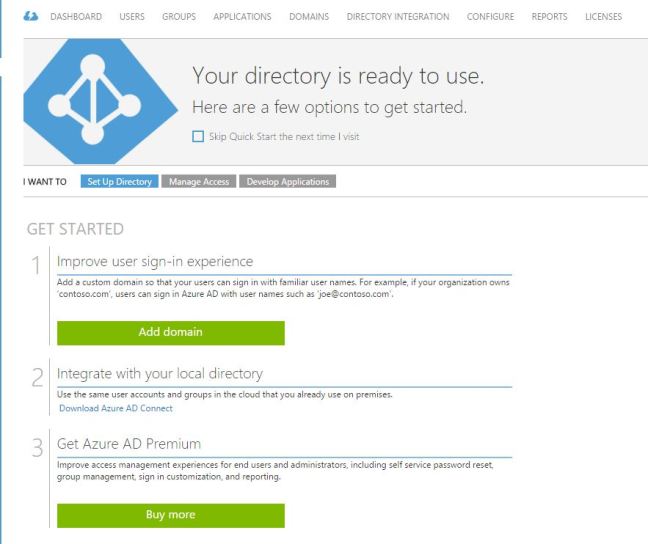
- Azure AD
- Related Article – Getting started with Azure Active Directory Free Edition
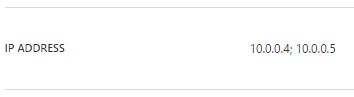
- Azure AD Domain Services
- Related Article – Azure AD Domain Services Quick Install
- Azure VM domain Joined to Azure AD Domain Services
- Okta Free 30 day trail
- Create a Service Account in Azure AD (Okta AD agent will run under this account)
3. Assumptions
The following assumptions are made in following this article:
- Windows 2012 R2 Member server of the Azure AD Domain Services
- The member server has internet access
- Okta free trail without any modifications made
4. Installation
4.1 Create Service Account in Azure AD
- Log into Azure AD, Go to Users and Click “ADD USER“
- In “Type of user“, Choose “New user in your organization“
- In “User Name”, Use company Service Account Name convention e.g. okta

- In “First Name“, “Last Name” and “Display Name“, Enter Okta
- In “Role”, Choose “User”
- Create a temporary password, and document the password for next step.
- Go to http://portal.office.com, Login as the new user and set the password.
- The default password expiry is set on the account and should be disabled by using Azure AD PowerShell.
4.2 Okta AD Agent Install
Please follow theses steps for integrating Azure AD Domain services with Okta:
- Log onto the Domain joined Server that will run the Okta Agent
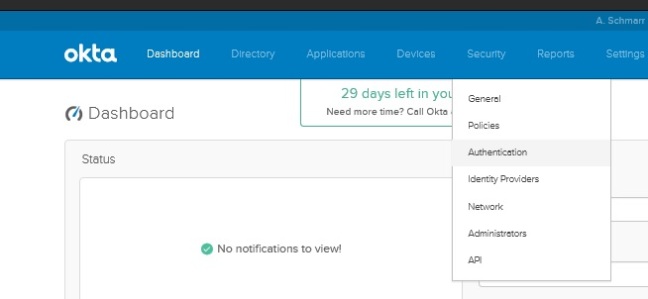
- Go to your okta administrator url e.g. https://<Company>-admin.okta.com/admin/dashboard
- On the top navigation bar, go to Security, Authentication
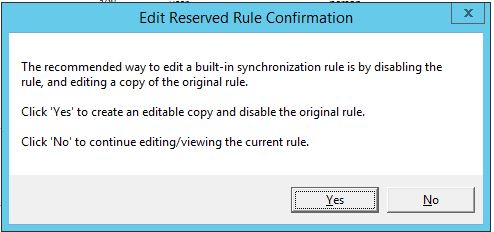
- Click “Configure Active Directory“

- Click, “Set Up Active Directory“
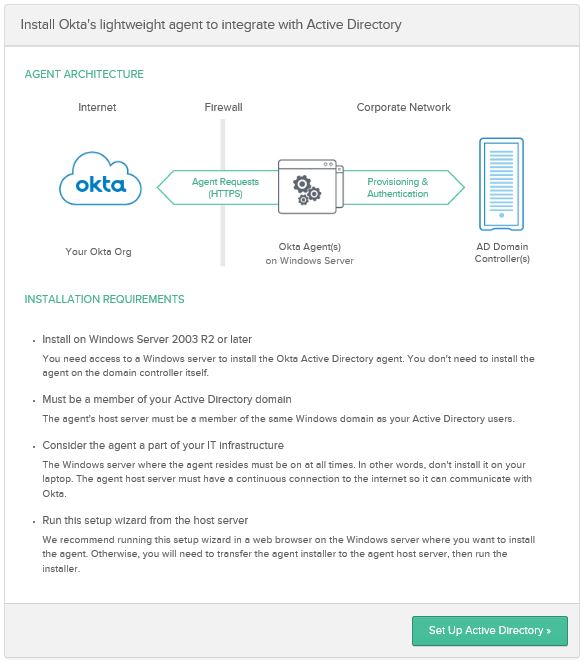
- Click, “Download Agent“

- Once the agent is finished downloading, run the installation.
- In the Welcome screen, Click “Next“
- Choose the path for the installation and click “Install“
- In The Domain field, enter company domain and click “Next” e.g. schmarr.com
- Choose “Use an alternate account that I specify“
- Enter username and password and click “Next“
- At Okta AD agent Proxy Configuration, Click “Next“
- At Register Okta AD Agent, Choose Production and in “Enter Subdomain” add company name.
- Click “Next“
- Sign in with your Okta Admin Account
- Click “Allow Access“
- Agent Installed, Click “Next”
- As an Example choose the following in “Basic Setting“

- Click “Next“
- Click “Next“
- In “Select the attributes to build your Okta User profile“, Click “Next“
- Done

Conclusion
The ability to add SaaS applications in Azure AD and Okta, Azure AD being the Identity store for both.